The Google Camera app – or GCam for short – is among the software elite in mobile photography. It brings the best optimization of several algorithms, thanks to which it can produce awesome photos even from less capable mobile cameras.
Thanks to its excellent results, GCam is very popular
Because of its features, this app is very popular, but its official version available in the Play Store is not available for a wide range of smartphones. Fortunately, the GCam developer community for Xiaomi and Redmi is quite strong, so this great app has been adapted and ported to several smartphones from these brands.
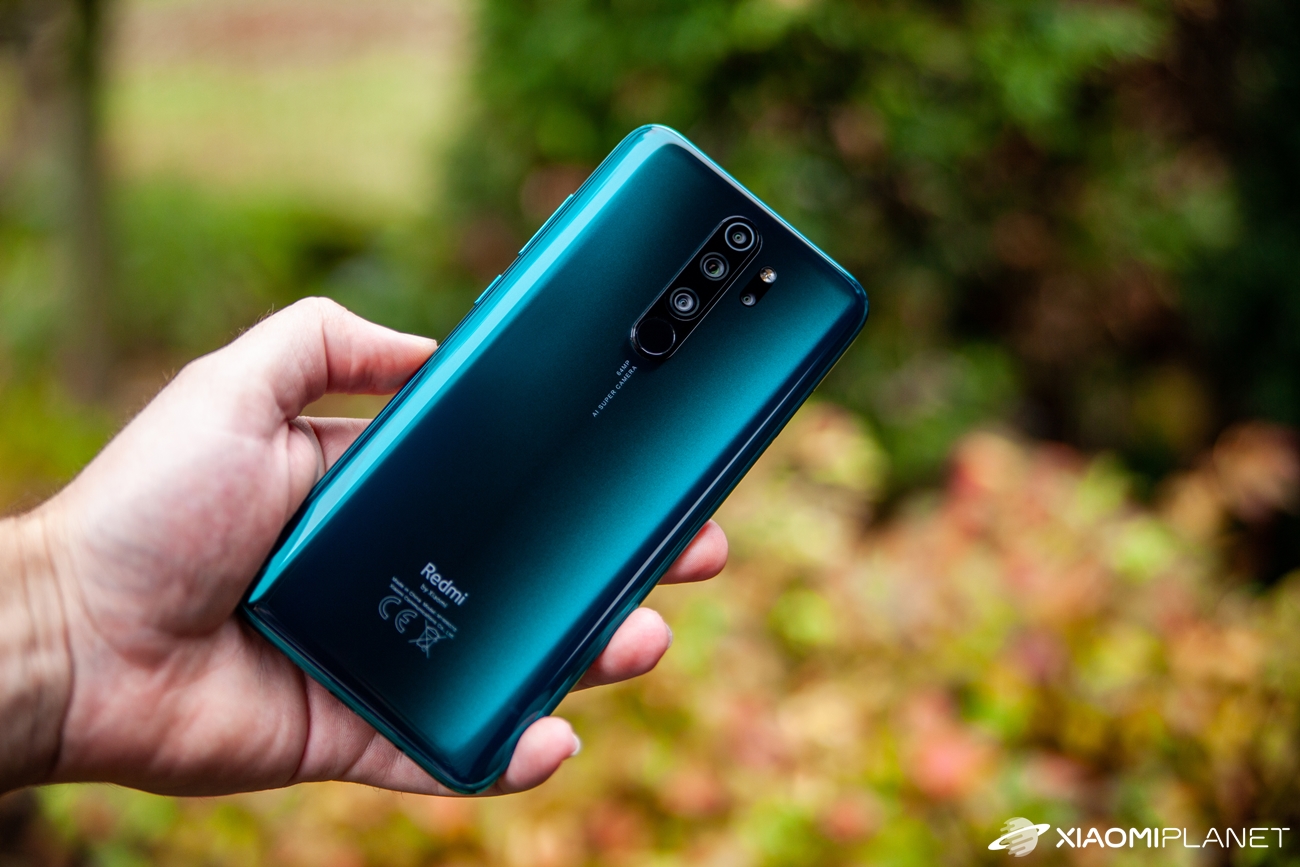
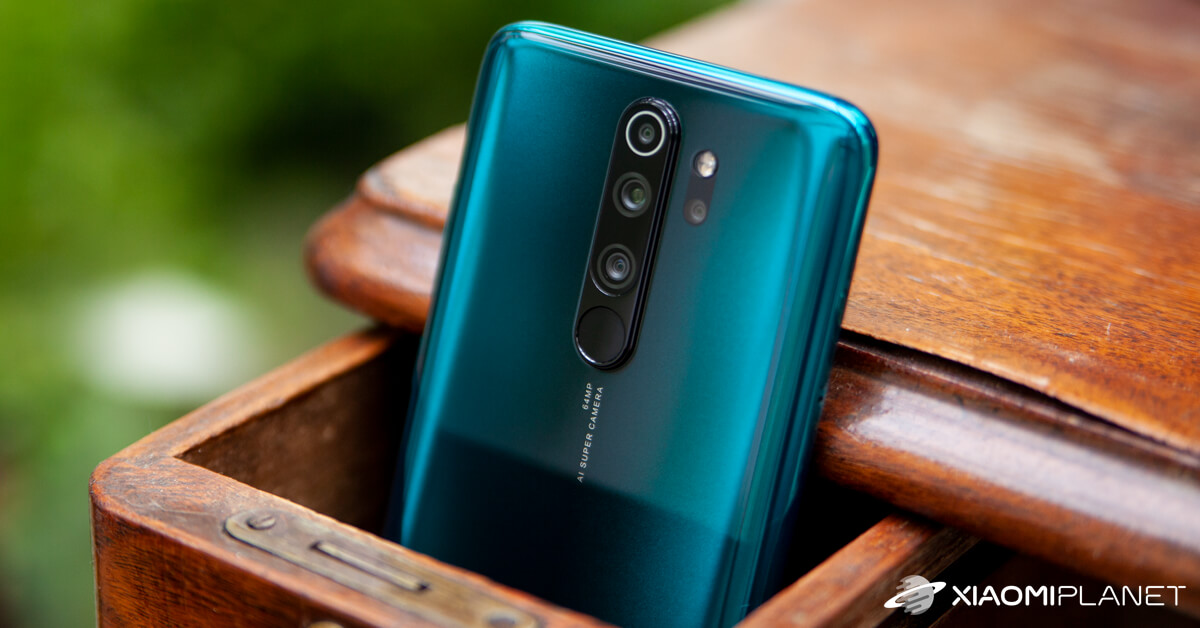
With the Redmi Note 8 Pro smartphone, however, there was a problem because it is equipped with a chipset from Mediatek. However, the foundations of the GCam app are built for Qualcomm Snapdragon processors, so it was a challenge for the developers. Redmi Note 8 Pro does, however, include powerful camera hardware, and combining it with GCam's capabilities would bring great results.
The app has also been adapted for Mediatek
After a long period of work and testing, a developer from XDAdevelopers with the nickname “Wyroczen” eventually managed to bring a stable working version of GCam for the Note 8 Pro as well. Some features of the app still do not work, but even so the app delivered great results in HDR+ mode and in Night mode. We still believe that the work on adapting the app is not over and that over time it will become fully compatible with this smartphone.
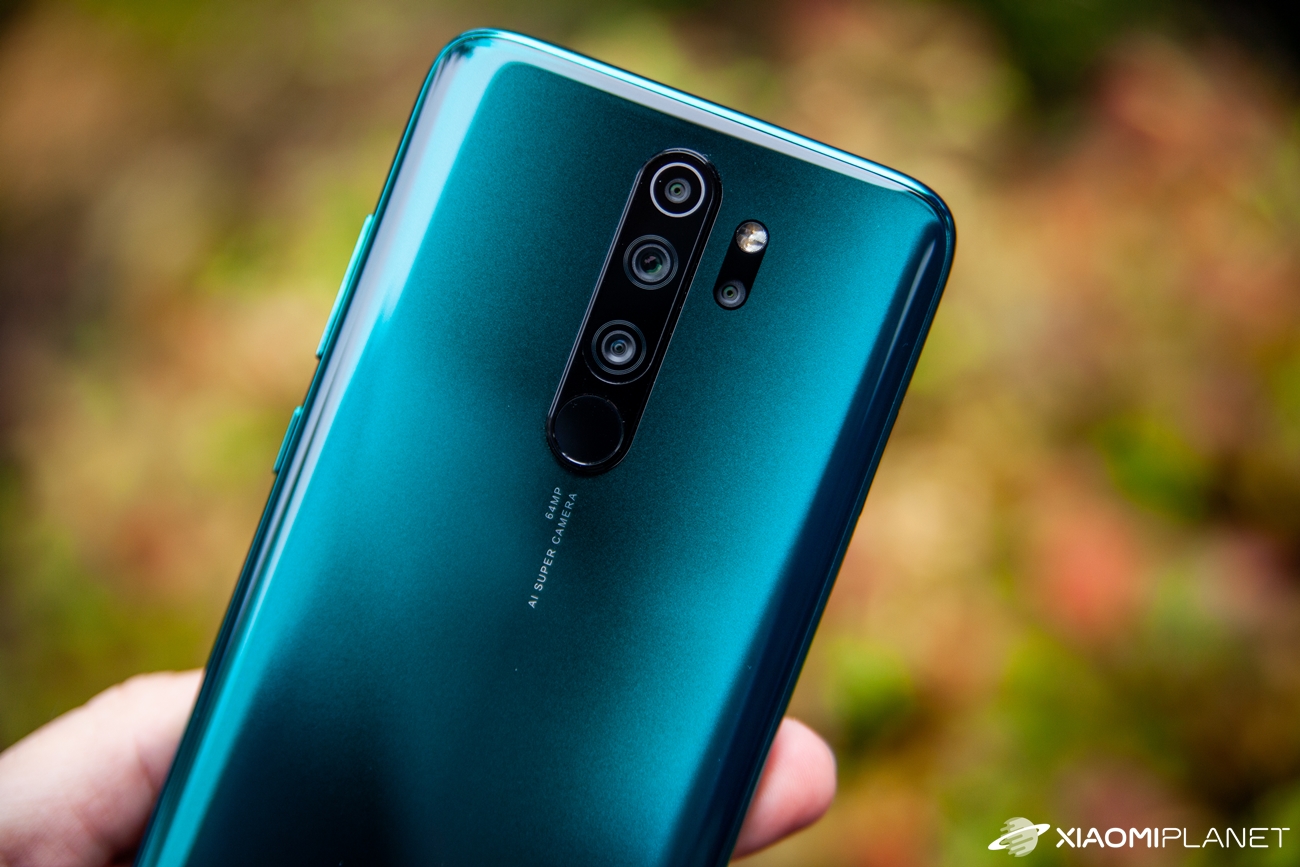
Thanks to the work of these determined and skilled people, we can bring our readers a guide on how to install the app on Redmi Note 8 Pro.
How to install the GCam app on Redmi Note 8 Pro
- 1. download the GCam app for Redmi Note 8 Pro from this link
- 2. download the supporting configuration file from this link
- 3. run the Gcam installation, and if a prompt appears to allow installation from unknown sources, you must enable it
- 4. open the GCam app, choose More, and there select Settings
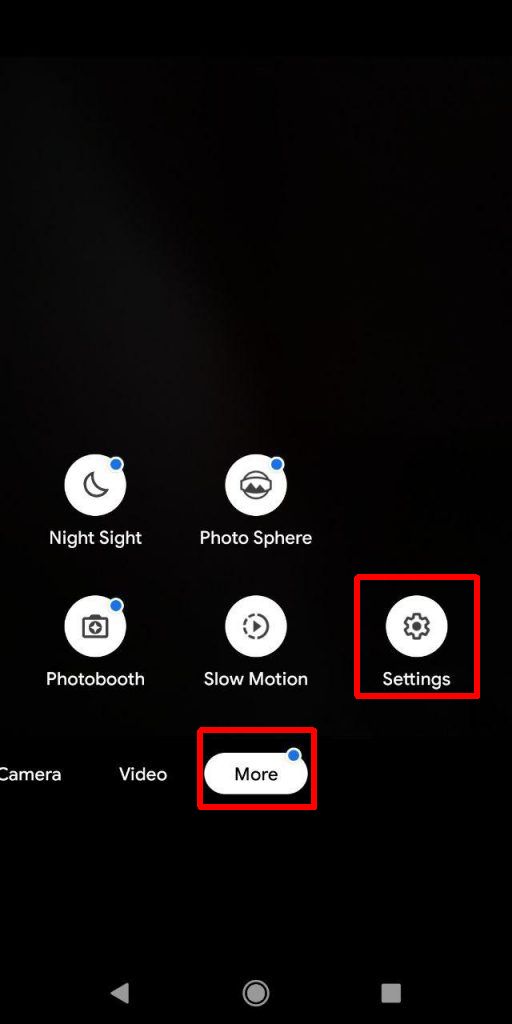
- 5. in Settings, find the Save settings option, name the save file whatever you want, and save it
- 6. close the GCam app and go on your smartphone to the File Manager app
- 7. using the file manager, find the GCam folder; it should be located in the root directory of the device
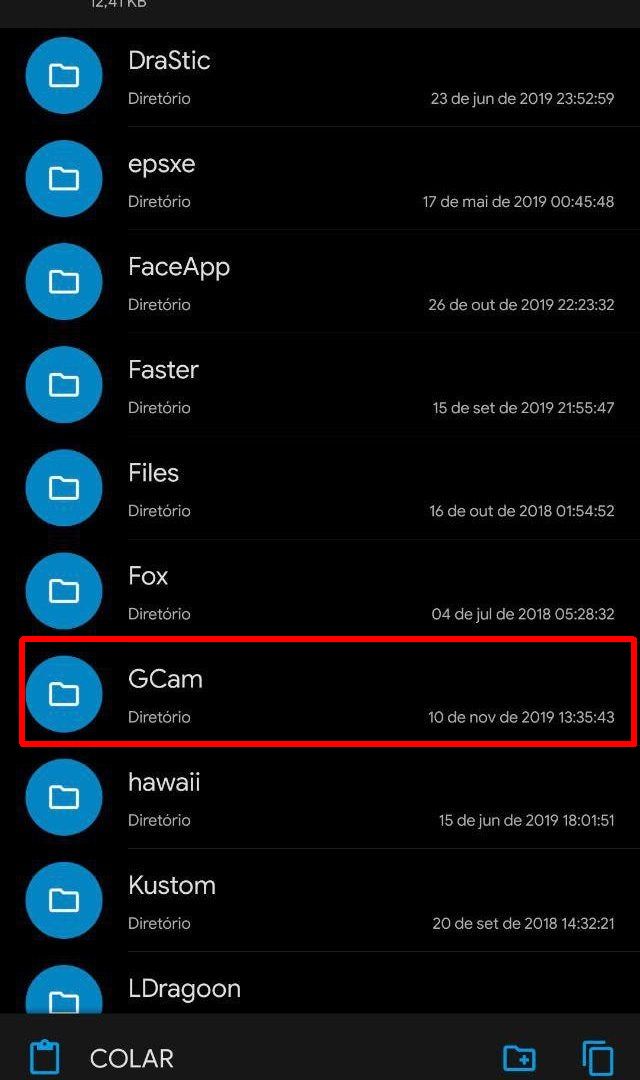
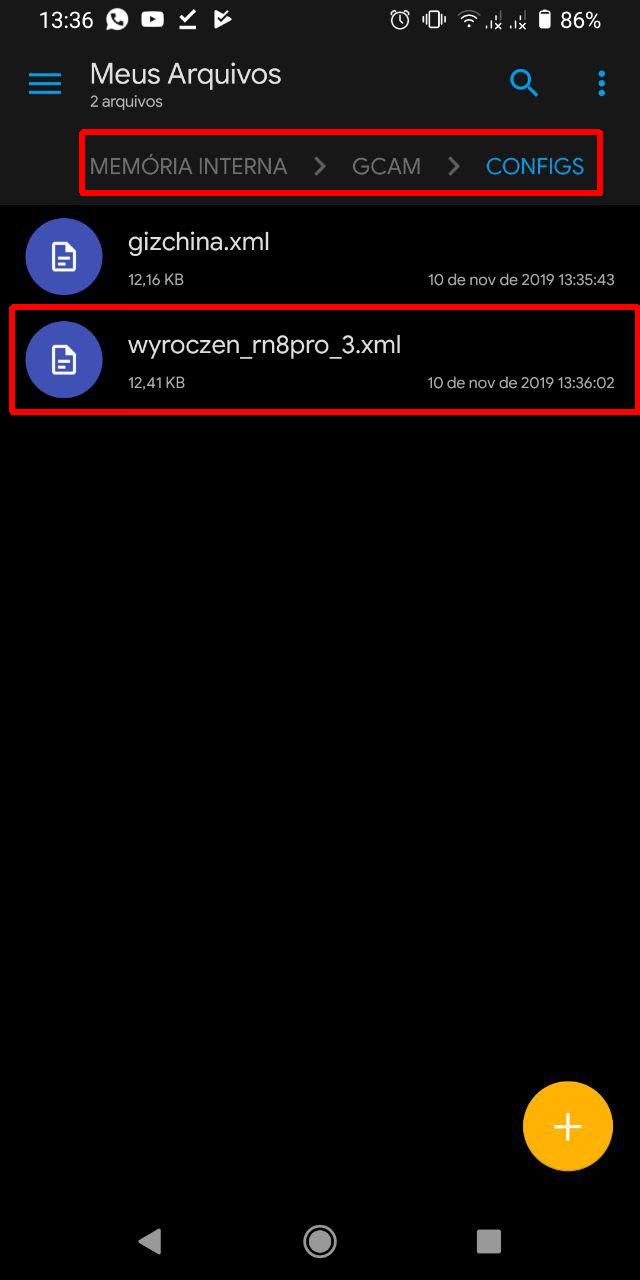
- 8. in the GCam folder, there is another “Configs” folder, where you move the supporting configuration file “wyroczen_rn8pro_3.xml”, which you downloaded in step 2
- 9. open the GCam app again and double-tap the black area between the shutter button and the circular photo preview
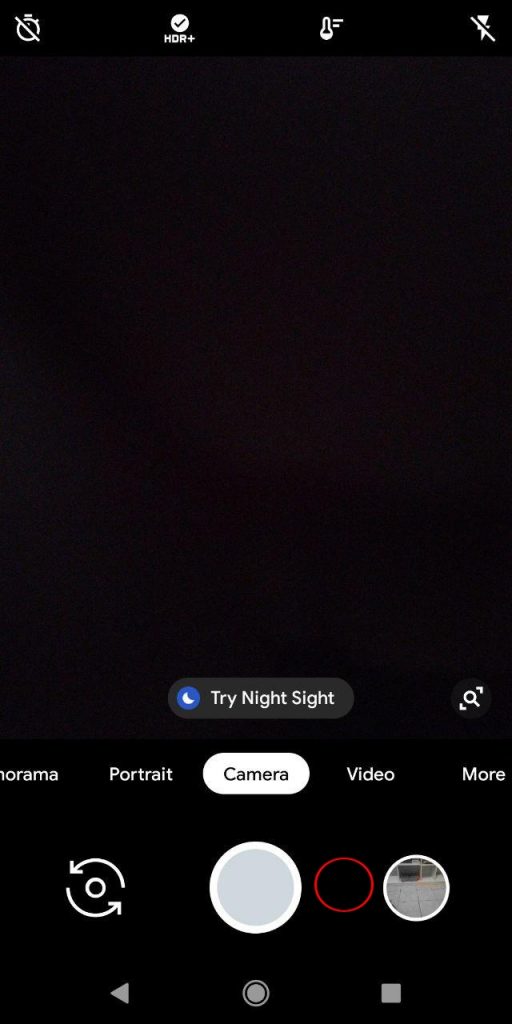
- 10. a dialog window will appear, and in it select the file “wyroczen_rn8pro_3.xml” and confirm by clicking Restore or Restore

Then the GCam app will restart and you’ll have access to a range of advanced features, such as HDR +, Portrait, Wide-Angle shots. It’s definitely worth trying out the Google Camera app. For inspiration, here are a few comparison photos. These were taken using the stock Camera app on the Redmi Note 8 Pro and, for comparison, also with the GCam app on the same smartphone.
GCam app photos are in the right column:

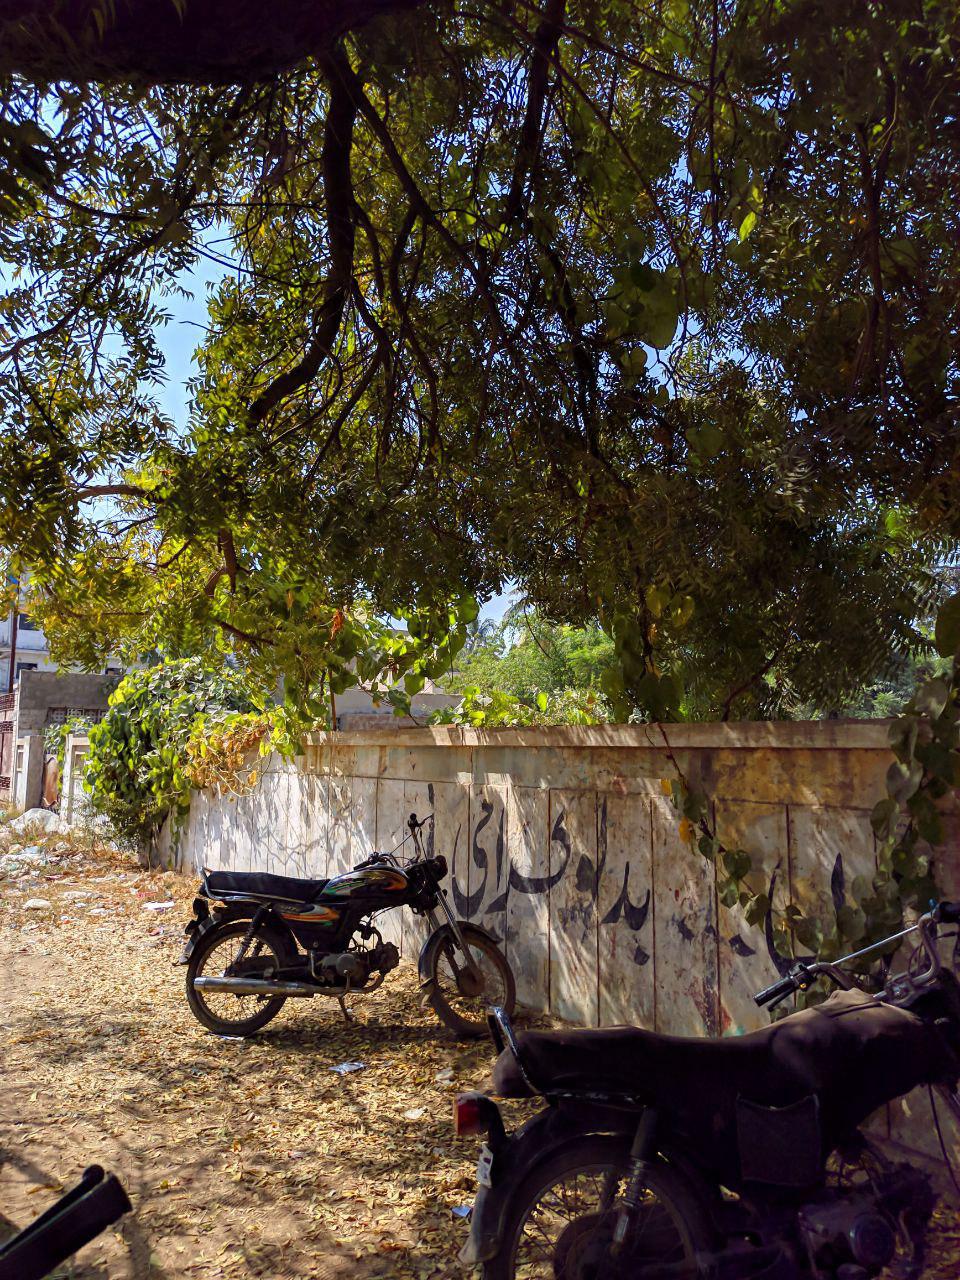
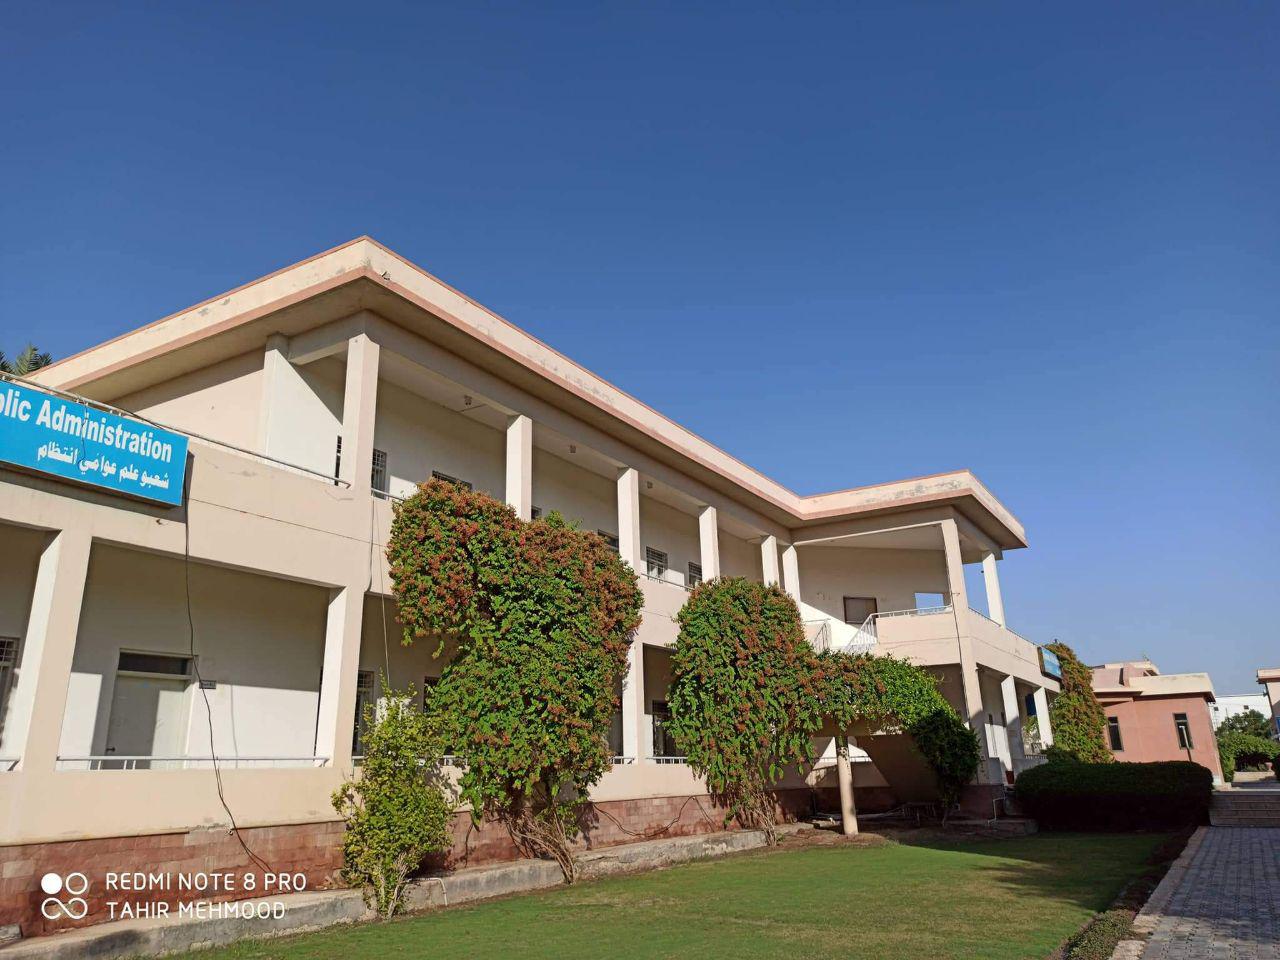
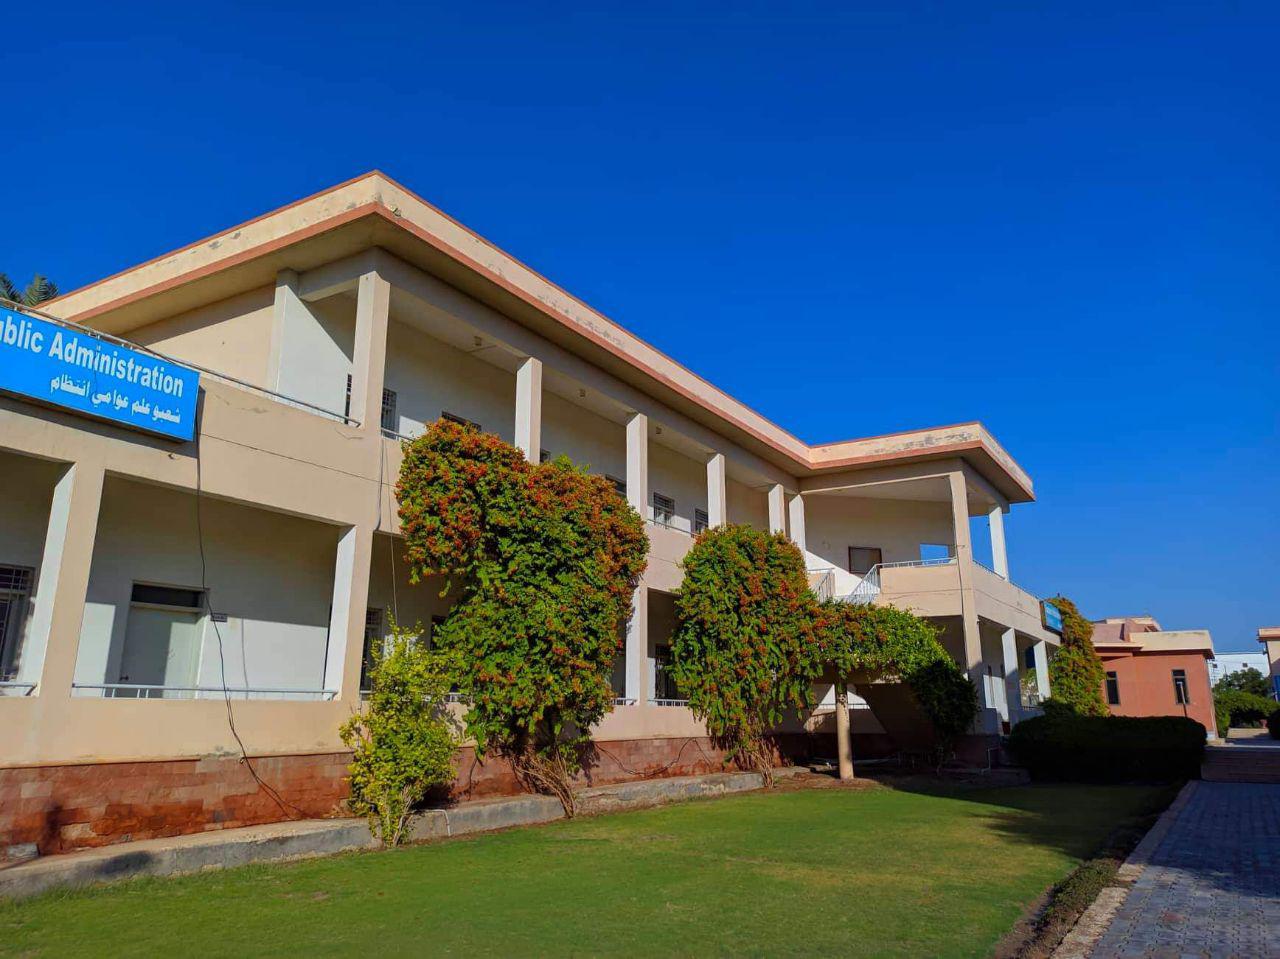


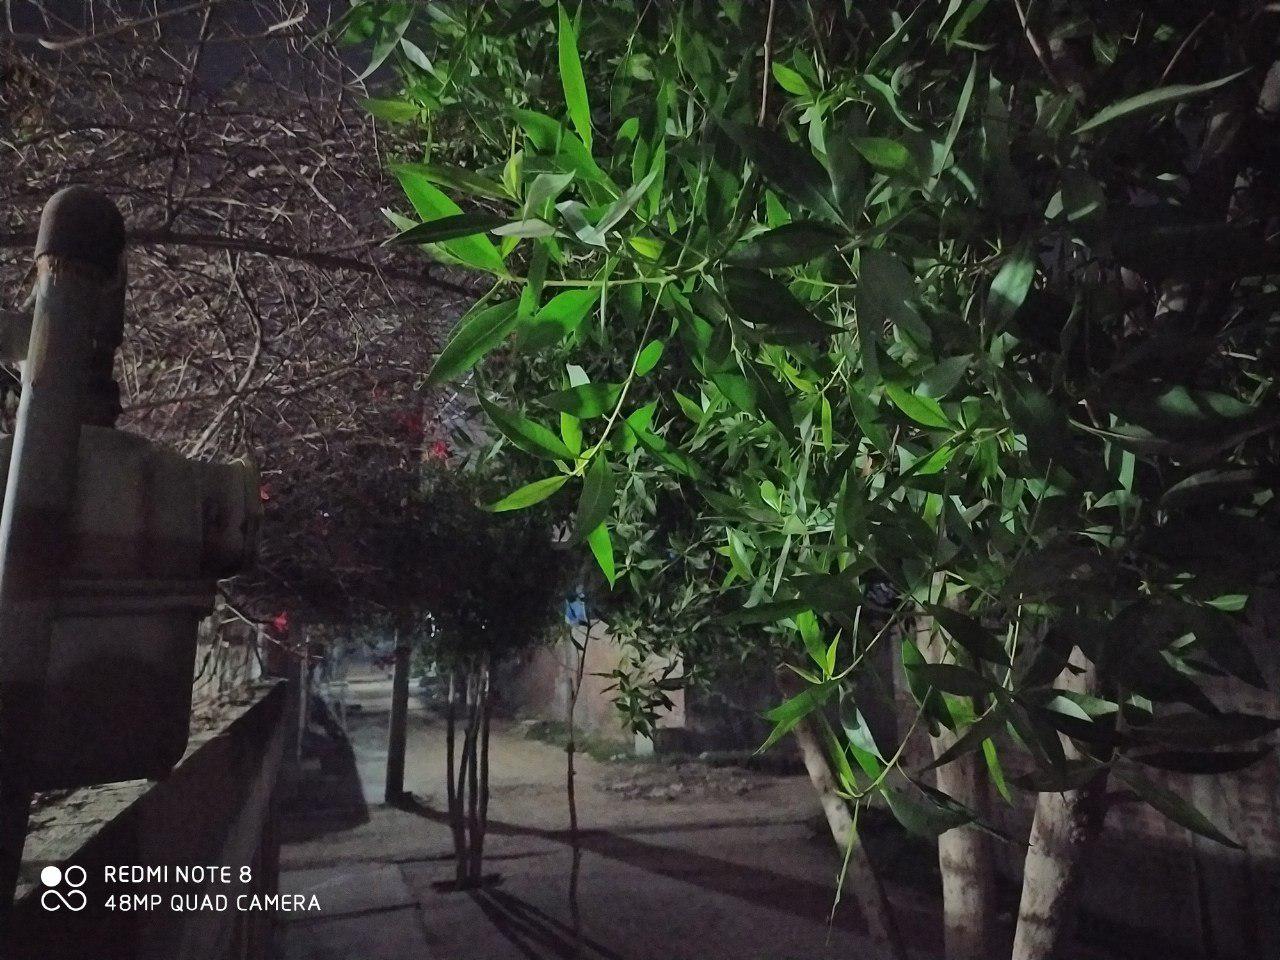

We hope we’ve inspired you and that you can get through the installation step by step without any problems. You can also show off your own photos taken with GCam on your Redmi Note 8 Pro.
If you want more interesting Redmi articles, subscribe to our newsletter.
Don’t miss the best coupons 📩
Subscribe and we’ll email you new coupons before they expire. We only send it once a month — no spam.